Maintaining the health of your electronic devices is crucial, and your Samsung charger port is no exception. Over time, regular use, mishandling, or external factors can lead to wear and tear, hindering its functionality. If you’re facing issues with charging your Samsung device, it’s possible that the port may require attention. This comprehensive guide explores the common causes of charger port malfunctions and provides a step-by-step approach to diagnosing and resolving these problems.
In this guide, you’ll learn about the various symptoms that indicate a problematic charger port, from loose connections to corrosion and physical damage. We’ll also delve into the tools and techniques required for effective troubleshooting, including visual inspections, cleaning methods, and tips for identifying potential hardware faults. Our goal is to empower you with the knowledge and confidence to address these issues and restore the charging functionality of your Samsung device.
Identifying the Problem: Diagnosing Faulty Charger Ports
Table of Contents
Diagnosing a faulty charger port can be a complex process, requiring a thorough understanding of the port’s functions and components. This section will provide a step-by-step guide to help you identify the root cause of your charging woes.
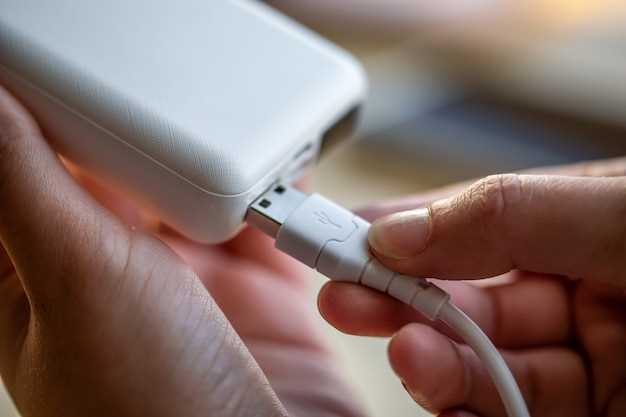
The first step is to visually inspect the port. Look for any visible damage, such as bent or broken pins, dirt or debris, or loose connections.
Next, test the port with multiple cables. If the device charges with one cable but not another, it could indicate a cable issue rather than a port problem.
If the port fails to charge with any cable, you can try cleaning it. Use a soft brush or cotton swab to gently remove any dirt or debris that may be obstructing the contacts.
If cleaning doesn’t resolve the issue, it may be necessary to check the continuity of the port’s circuitry. This requires using a multimeter to test for electrical continuity between the port’s pins and the device’s battery.
By following these diagnostic steps, you can narrow down the source of your charger port problem and determine the appropriate repair solution.
Tools and Materials: Must-Haves for Repair
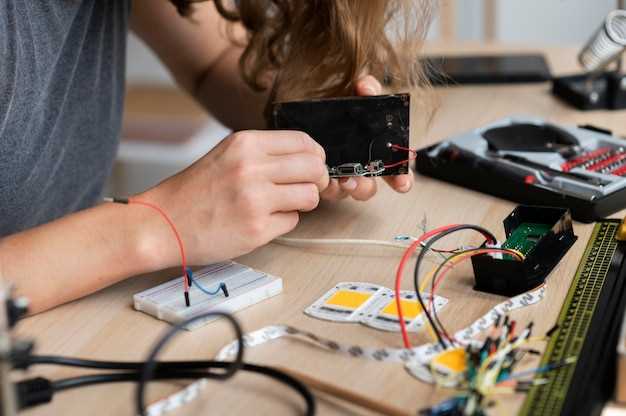
Embarking on a successful repair journey requires the right tools and materials. Gathering these essential items will not only enhance your chances of a successful repair but also ensure the safety and precision of the process. This section provides a comprehensive list of indispensable tools and materials you’ll need to equip yourself with before tackling the repair.
Step-by-Step Guide: Detailed Repair Instructions
This comprehensive guide provides a step-by-step approach to assist you in resolving issues with your device’s charging port. Follow these instructions meticulously to ensure a successful repair.
Materials Required:
- Precision screwdriver set
- Replacement charging port
- Soldering iron and solder
- Heat gun or hair dryer (optional)
Safety Precautions:
- Unplug the device from all power sources.
- Wear anti-static wrist straps to prevent damage to the device.
- Handle components with care to avoid electrostatic discharge (ESD).
Troubleshooting Tips: Resolving Common Issues
Experiencing difficulties with your phone charging? Before seeking professional assistance, explore these troubleshooting tips to resolve common issues:
Inspect the Charger and Cable: Check for physical damage to the charger and cable. Clean any debris or lint from the connectors using a cotton swab dipped in rubbing alcohol. Try a different cable or charger to rule out faulty components.
Restart the Device: Powering off and on your device can clear temporary glitches that may hinder charging. Simply hold the power button until the device turns off, then press it again to restart.
Note: If the device fails to charge even after multiple attempts, consider performing a factory reset to eliminate any software conflicts.
Clean the Charging Port: Dust or debris can accumulate in the charging port, preventing proper contact. Use a toothpick or a compressed air duster to remove any obstructions. Avoid using sharp or metallic objects, as they could damage the port.
Check for Corrosion: Moisture or exposure to corrosive substances can damage the charging port. If you suspect corrosion, disconnect the device from power and use a cotton swab to apply a small amount of isopropyl alcohol to the port. Allow it to dry completely before reconnecting.
Safety Precautions: Handling Electronics Safely

Before embarking on any repairs to your device, it is crucial to prioritize safety. Electronics, particularly those with electrical components, require cautious handling to prevent potential hazards. This section will provide essential guidelines to ensure a safe and successful repair process.
Preventing Future Damage: Maintaining Charger Port Health
Prolonging the lifespan of your charging port requires meticulous maintenance and proactive measures. This involves avoiding harmful habits, such as forcefully inserting or removing the charging cable, and keeping the port clean and free of debris. Additionally, using high-quality cables and chargers specifically designed for your device can significantly reduce the risk of damage.
Question-Answer
Can I repair the Samsung Galaxy charger port myself?
Yes, it is possible to repair the Samsung Galaxy charger port yourself if you have the necessary tools and skills. However, it is important to note that repairing the charger port can be a complex and delicate procedure, and it is not recommended for those without experience in electronics repair. If you are not comfortable performing the repair yourself, it is best to seek professional help from a qualified technician.
How long will it take to repair the Samsung Galaxy charger port?
The time it takes to repair the Samsung Galaxy charger port will vary depending on the severity of the damage and your level of experience. However, as a general estimate, you can expect the repair to take anywhere from 30 minutes to 2 hours.
 New mods for android everyday


